July 15, 2026 · Updated August 11, 2026
Advanced OCR Techniques: Accuracy, Preprocessing & PDFs
How to lift OCR accuracy with image preprocessing such as thresholding and deskewing, handle scanned PDFs page by page, and keep sensitive files safe.
By Elango P · About this site
Most "bad OCR" complaints are really bad inputs. Engines guess characters from pixels — if those pixels are dim, skewed, or buried in background texture, the guesses get worse. This guide covers the hands-on techniques that actually move accuracy: preprocessing an image before you upload it, working around PDFs that have no text layer, handling screenshots well, and the privacy habits worth building into all of it. Examples use imgtotext.in, but the techniques apply to any image-based OCR tool.
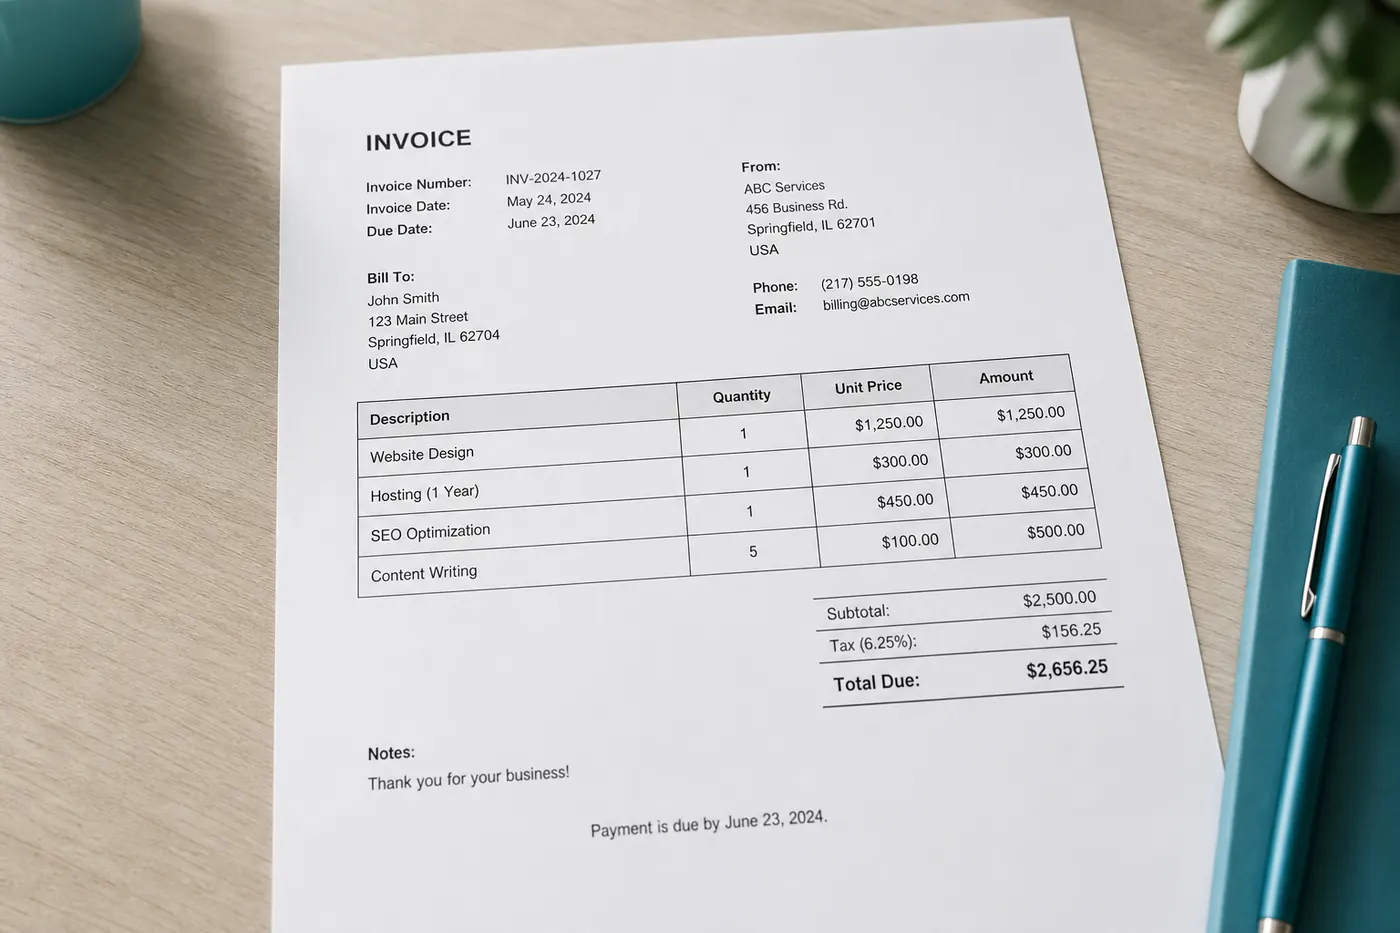
Table of Contents
- Preprocessing: Crop, Rotate, Contrast, Format
- The Accuracy Playbook
- Working With PDFs
- Screenshots and Digital Sources
- Privacy and Security When Uploading
- Related Reading
Preprocessing: Crop, Rotate, Contrast, Format
You don't need Photoshop. For consumer OCR, preprocessing usually means five things: cropping to the text region, rotating so baselines are horizontal, correcting exposure, picking a sensible file format, and deciding deliberately whether to use a "Clean Mode"-style toggle. imgtotext.in runs free AI OCR first (Gemini via its API), then browser Tesseract.js after 10 AI uses per day per IP address — better inputs help both paths, so this work is never wasted even if you land on the fallback engine.
Crop ruthlessly. Busy wood grain, a second page peeking into frame, or UI chrome around an article all invent false characters. A tight crop also means a smaller, faster upload. Rotate and deskew until baselines are level — a phone's "document mode," when available, does this automatically before you export a flat image. Fix exposure without oversharpening: brighten dark phone shots a little, but avoid aggressive sharpening or vignette filters, since the halos they create can read as ink to an OCR engine. Pick the right format: PNG for screenshots and UI, a high-quality JPG for camera photos you haven't re-saved repeatedly (WEBP and GIF are also accepted). Match the language before you retry — a wrong language setting wastes an AI-quota attempt for nothing. Use Clean Mode with intent: it helps high-contrast documents and screenshots, but can erase faint pencil or chalk strokes, so if you're unsure, spend one attempt with it on and only retry with it off if the result clearly failed.
As a rule of thumb, a poorly lit or uncropped phone photo of a printed page is usually the single biggest source of OCR errors — more than engine choice. Cropping tightly and correcting exposure before your first attempt typically fixes more than any setting inside the tool itself.
Layout surgery counts as preprocessing too. Dual-column magazine scans often get read in the wrong order; tables with ruled lines can come out as row-wise soup. The boring, effective fix: duplicate the image, crop each column separately, OCR each one, then concatenate in reading order. For a table with only a handful of cells, it's often faster to just retype it than to fight OCR for structure it isn't built to preserve.
Resolution has a ceiling, not just a floor. A 12-megapixel image doesn't OCR better than one downsized so a typical letter is roughly 20+ pixels tall — it just uploads slower and occasionally introduces microscopic noise the engine has to filter. Never upsample a blurry thumbnail expecting it to sharpen; that information is gone. Convert dithered GIFs from chat apps to PNG if their edges look speckled.
Color versus grayscale matters more for classical engines than AI ones — Tesseract-style OCR often prefers clean grayscale or binary images, while AI models can use color cues like a red "TOTAL" stamp. Keep a color original and only generate a grayscale derivative if you're specifically debugging the classical fallback; stacking grayscale, heavy thresholding, and Clean Mode all at once just makes it hard to learn which change helped.
The Accuracy Playbook
Beyond image prep, a handful of habits determine whether an extraction is usable on the first try:
- Prefer screenshots over photos of a screen. A screenshot has sharp glyph edges and no moiré; a photo of a monitor fights glare and color casts from the start.
- Budget your AI quota deliberately. Spend it on handwriting, low light, and complex layouts; save browser OCR for crisp screenshots you're confident about. Split a large multi-page job across days if you want peak quality throughout.
- Simplify the background — plain, contrasting surfaces beat patterned desks and busy tablecloths.
- Verify high-cost tokens first, in this order: currency amounts, IDs and account numbers, dates, proper nouns, then everything else. Humans skim prose fine but miss a single bad digit unless they check deliberately.
- Know the common failure patterns —
rnread asm,clread asd,Oconfused with0,I/l/1confused with each other. Disable autocorrect before pasting a list of codes or serials, since spellcheck "corrections" on proper nouns are often worse than the original error. - Control glare and shadows — tilt laminated cards or glossy pages until the hot spot leaves the text; reposition yourself or add a second light source if your own shadow falls across the page.
- Don't expect magic on unreadable sources. If a word is illegible to you at full resolution, the model is guessing too — mark it clearly rather than trusting a confident wrong answer.
A short personal checklist taped near your desk covers most of this in one glance: level and crop → language → Clean Mode decision → extract → verify numbers and names → copy or download. Habits beat one-off heroics, especially under deadline pressure.
Working With PDFs
The general image OCR workflow on imgtotext.in is built for PNG, JPG, JPEG, WEBP, and GIF. For a multi-page scanned PDF, PDF to Text accepts the PDF directly, renders selected pages, and combines the OCR text after processing.
Before doing any of that, check whether you even need OCR: try selecting text in your PDF reader first. If you can highlight and copy a paragraph, the PDF already has a text layer — just copy it. OCR is only for image-only PDFs or pages where the glyphs are pictures.
Exporting pages: desktop readers often offer "Export as image" or a print-to-image option — prefer PNG when the quality slider allows it, and name files sequentially (contract-p01.png, contract-p02.png) so merge order stays obvious. On a locked-down machine, a full-page OS screenshot with window chrome cropped out works just as well.
Layout challenges specific to PDF pages: running headers and page numbers will appear in every extract — decide up front whether to strip them while merging. Multi-column contracts and definition lists often scramble reading order; crop left and right columns separately if that happens. Signatures and stamps confuse recognition near the words they overlap, so either crop them out or accept that nearby text may need a manual fix.
For occasional or selective use — a couple of clauses from a long lease, a handful of pages from a scanned report — this page-by-page approach is genuinely fine. If your week involves dozens of long image-only PDFs, that volume justifies dedicated batch PDF OCR software or a cloud document API instead (see OCR for Developers).
Screenshots and Digital Sources
A native screenshot records the framebuffer directly: sharp glyph edges, predictable anti-aliasing, no camera blur. Whenever text already lives on a device you control, screenshot it instead of photographing the screen. PNG is the usual lossless choice.
Capture well before you OCR. On desktop, use a region-capture shortcut so you only grab the paragraph you need, and zoom the source page first if the font is small. On mobile, use the system screenshot gesture — not a second phone filming the first — and crop out status bars if they introduce spurious characters.
Clean Mode is usually the right default for flat UI screenshots and document captures; turn it off experimentally only if a shot mixes a photo region with overlaid captions and the result looks worse than expected. Dark mode and low-contrast themes genuinely OCR worse than light themes — switching to light mode before capturing, when that's an option, is a real accuracy lever, not just a preference.
Multi-window and multi-column captures benefit from the same split-and-merge approach as PDF columns: crop each window or column separately, OCR each, then merge with labels. Terminal and code screenshots are best avoided entirely when copy-paste is available — if you must OCR one, widen the window first to reduce wrapping, and never trust OCR output for a hash, key, or secret without checking it character-by-character (rotate the credential if you're not sure).
Redact before you capture, not after. People routinely include customer emails, session tokens visible in a URL bar, or internal hostnames in "quick" screenshots without noticing. Glance at the corners of the frame before you hit the shortcut, and after OCR, search the extracted text for patterns like Bearer or api_key — if something sensitive slipped through, treat the clipboard and any downloaded TXT as compromised for sharing purposes.
Privacy and Security When Uploading
Any web OCR tool offering cloud AI recognition sends image data off-device for that path. imgtotext.in uses AI OCR first (Gemini via its API), then falls back to Tesseract.js in the browser after the daily AI allowance is used — the browser path reduces reliance on the cloud once its assets are loaded, but reaching the site to start a session still happens over the network. Read an operator's actual commitments (for this site, /privacy-policy) rather than trusting vague "military-grade encryption" language that says nothing about retention.
Triage content before you upload, every time:
- Public — flyers, published slides, already-shared screenshots. Low sensitivity.
- Internal but non-secret — meeting agendas without credentials. Medium; crop aggressively anyway.
- Confidential — unreleased financials, customer lists, health details. High; use an organization-approved process, or don't OCR it until policy is clear.
- Regulated identity — passports, driver's licenses, Aadhaar, Social Security numbers. Treat casual consumer OCR as the wrong tool entirely unless you have legal need, consent, and a verification process (see OCR Use Cases & Workflows for the fuller discussion).
A simple gut check: if you wouldn't paste the extracted text into a public chat, pause before uploading the image that contains it.
Minimize what's in the frame. Crop away desk clutter and second documents, cover fields you don't need extracted, and prefer native screenshots over photos of screens — they're sharper and easier to redact in an editor first. On shared devices (library computers, hotel business centers), use a private browsing window, don't leave a results pane visible when you step away, and delete downloaded TXT files before logging out.
Two practical limits worth remembering: no amount of careful OCR-tool selection protects you if malware is already scraping your clipboard, and if a sensitive photo already synced to a cloud backup before you thought about it, avoiding a new upload doesn't undo that. Privacy habits reduce the attack surface; they don't replace basic device hygiene.
Related Reading
- The Ultimate Guide to OCR Technology — the recognition pipeline and how to verify output
- OCR Use Cases & Workflows — where these techniques apply in practice
- OCR for Developers — building preprocessing and review queues into a real pipeline
Try free image to text OCR
Upload an image to extract editable text — AI OCR runs first (images go to Google Gemini via our server); browser OCR is the fallback. No signup required.
Extract text from images