July 8, 2026
Image Preprocessing for Better OCR
Crop, rotate, contrast, and Clean Mode tips that improve OCR accuracy before you hit extract.
By Elango P · About this site
Most “bad OCR” complaints are really bad inputs. Engines guess characters from pixels; if those pixels are dim, skewed, or buried in wallpaper texture, guesses worsen. Preprocessing—the small edits you make before clicking extract—often helps more than switching tools. This guide focuses on practical prep for free online OCR at imgtotext.in, including when Clean Mode helps and when a manual crop beats any toggle.
What Preprocessing Means Here
You do not need Photoshop. Preprocessing for consumer OCR usually means:
- Cropping to the text region
- Rotating so baselines are horizontal
- Improving contrast or exposure
- Choosing PNG vs heavily compressed JPG
- Letting the tool’s Clean Mode normalize screenshots and neat scans
imgtotext.in runs free AI OCR first (Gemini via their API), then browser Tesseract.js after 10 AI OCR uses per visitor per day. Better inputs help both paths. Pipeline context: /how-it-works.
Step-by-Step Prep Routine
1. Start with the Right Capture
- For paper: overhead angle, even light, plain background.
- For screens: native screenshot, not a camera pointed at the monitor.
- For whiteboards: step closer; avoid wide angles that curve edges.
Mobile capture detail: /blog/ocr-for-mobile. Whiteboard-specific tips: /blog/whiteboard-ocr-tips.
2. Crop Ruthlessly
Open the image in any Photos editor. Drag edges until margins are small and competing objects disappear. Busy wood grain, second pages, and UI ads alongside an article all invent false letters. Tight crops also shrink file size—faster uploads on slow connections.
Use /image-to-text once the crop looks like a textbook illustration of “just the words.”
3. Rotate and Deskew
If text leans more than a few degrees, rotate until a horizontal guideline would sit on a baseline. Many phone “document” modes flatten perspective; use them when available, then export a flat PNG or JPG.
4. Fix Exposure Without Oversharpening
Slightly increase brightness on dark phone shots. Avoid aggressive sharpening filters—they create halos that look like ink to OCR. Avoid heavy vignette filters for the same reason.
5. Prefer Sensible Formats
Supported uploads include PNG, JPG, JPEG, WEBP, and GIF. Prefer PNG for screenshots and UI. Prefer high-quality JPG for camera photos without re-saving ten times. Format pages: /jpg-to-text, /image-to-text.
6. Match Language Before Retrying
Wrong language settings waste AI quota. Pick among English, Spanish, French, German, Italian, Portuguese, Russian, Chinese Simplified, Japanese, Korean, Arabic, and Hindi to match the page—not your UI locale by habit.
7. Toggle Clean Mode With Intent
Clean Mode helps high-contrast documents and screenshots. On chalk dust boards or stained paper it can erase faint strokes. When unsure, spend one AI use on Clean Mode on, and only retry with it off if the first pass failed for obvious reasons.
Worked Examples
Example A: Skewed Receipt
A cafe receipt photographed at an angle yields split totals and invents commas. Prep: document-mode flatten, crop to the itemized region, bump exposure, English language, Clean Mode off (thermal paper texture can confuse heavy cleanup). Then extract. Deeper receipt guide: /blog/extract-text-from-receipts.
Example B: UI Screenshot
A settings panel PNG with browser chrome included captures “File Edit View” as garbage lines. Prep: crop to the panel only, Clean Mode on, upload via /image-to-text. Screenshot essay: /blog/convert-screenshots-to-editable-text.
Example C: Faint Photocopy
A second-generation photocopy of a book page looks gray-on-gray. Prep: increase contrast carefully, crop one column if dual-column layout confuses reading order, try AI OCR while quota remains. Old-book workflow: /blog/digitize-old-books-ocr.
Advantages of Preprocessing
- Higher first-pass accuracy, fewer quota-burning retries
- Cleaner reading order for columns and tables when you split regions
- Smaller uploads and faster mobile sessions
- Better results even on the Tesseract browser fallback
Companion accuracy habits: /blog/ocr-accuracy-tips.
Limitations
Preprocessing cannot invent resolution that never existed. A 50-kilobyte highly compressed thumbnail of a contract will stay unreliable. Extreme handwriting still needs human transcription—see /blog/handwriting-ocr. Image-only PDFs need page rasters first (/pdf-to-text, /blog/pdf-ocr-guide); preprocessing applies to those page images the same way.
Over-processing is real: posterize filters, heavy HDR, and comic-book ink effects can destroy glyph shapes. Stop when you can read the image comfortably at 100% zoom.
Best Practices
- Make the image readable to humans first.
- Crop before any filter.
- Rotate before extract, not after five failures.
- Split multi-column layouts into separate images when order matters.
- Spend AI OCR on preprocessed hard cases; use browser OCR for already-perfect screenshots near quota.
- Keep an untouched original if you might need to re-edit.
- Skip sensitive IDs unless necessary and allowed (/privacy-policy, /blog/ocr-security-privacy).
Quick Desk Kit (Optional)
If you OCR paper often: a clip lamp, a dark mousepad as backdrop, and a cardboard frame to align pages. None of that replaces software, but it reduces edit time later.
Try It
Take the worst OCR photo in your recent camera roll. Spend two minutes cropping and rotating only—no fancy filters—then run it at imgtotext.in. Compare to your previous extract. The delta is usually preprocessing, not magic.
FAQ: /faq. Basics: /blog/what-is-ocr. Zero-install reminder: /blog/how-to-extract-text-from-images.
Column and Table Splits as Preprocessing
Treating layout surgery as preprocessing prevents a class of failures people blame on “the AI.” Dual-column magazine scans often read bottom-to-top of the wrong column. Tables with ruled lines can emit row-wise soup. The fix is boring and effective: duplicate the image, crop column A and column B separately, OCR twice, then concatenate in the order a human would read. For tables, OCR row bands or simply retype tiny numeric tables when there are only twelve cells—OCR vs manual typing still matters at small scale.
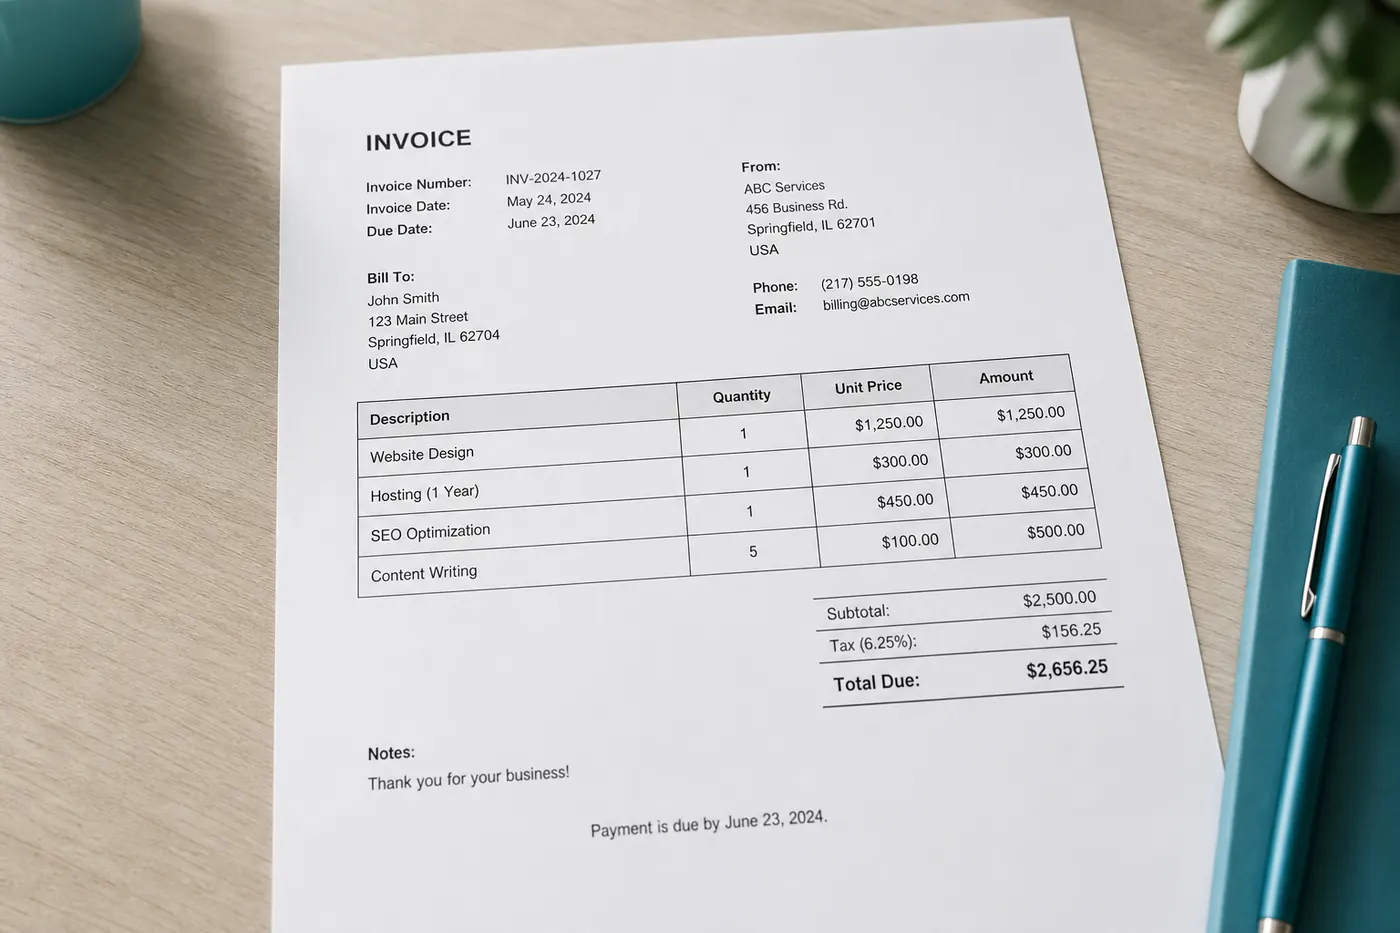
Invoice remittance stubs attached beside payment coupons deserve the same split. One file for aesthetics; two crops for accuracy.
Resolution Myths
“Always max resolution” is not free. Huge 12MP images slow uploads on LTE and sometimes confuse engines with microscopic noise. Aim for enough pixels that a typical letter height is roughly 20+ pixels after crop—not necessarily the full sensor dump. Downsample gently if your phone produces enormous WEBP files that timeout on flaky networks; never upsample a blurry thumbnail and expect miracles.
GIF uploads occasionally appear from chat apps; they may be low-color or dithered. Convert important GIFs to PNG before OCR when edges look speckled.
Building a Personal Prep Preset
If you OCR similar documents weekly—receipts, lecture slides, packing labels—write a three-line preset in your notes: crop rule, Clean Mode default, language. Consistency beats rediscovering settings under deadline stress. Pair the preset with the free online OCR checklist so verification is muscle memory too: /blog/free-online-ocr-checklist.
Workshop facilitators can publish a “board photo SOP” near the meeting room camera policy: square-on, crop to decisions column, AI OCR, label draft. Preprocessing becomes culture, not heroics.
Color Versus Grayscale Decisions
Color sometimes helps AI models that use semantic cues (red “TOTAL” stamps, highlighted rows). Classical Tesseract often prefers clean grayscale or binary images. Because imgtotext.in may take either AI or browser Tesseract paths depending on quota, keep a color original and only invent grayscale derivatives when debugging classical fallback. Do not stack grayscale, heavy threshold, and Clean Mode blindly—pick one cleanup philosophy per attempt so you learn what worked.
Stamps and highlighter streaks can become solid blobs after aggressive binarization; crop them out instead of thresholding the whole page.
Batch Discipline Without Automation
Even without a script, batch prep reduces fatigue: rename files 01-crop.png, 02-crop.png, process in order, and tick them off. Mixing unprepared originals into the same folder as crops causes accidental uploads of the wrong version—the classic “why is OCR worse after I edited?” bug.
When collaborating, agree that only crops go into the shared ready-for-ocr folder. Originals stay in raw/.
Related Reading
- /blog/ocr-for-mobile — phone scanning habits
- /blog/free-online-ocr-checklist — verify after extract
- /blog/how-to-extract-text-from-images — end-to-end steps
Try free OCR now
Upload an image and extract editable text in your browser — no signup required.
Open OCR tool